The background of the image should be looking compelling or attractive because an image with a good background attracts many hearts. Usually, the normal photos didn’t contain good Background in photos because the camera of most Smartphones is not super developed. Yes, you can edit your background using Green Screen but that requires an investment on green cloth or piece of cloth. And that most don’t want to spend on. But the good news is you can still erase the background of the image that you have taken from the Android phone of your lovely face and body. So, basically in this article, I will show you how you can easily erase the background of Image in your Android phone.
In this article, we will use the best and perfect app to erase the Background of Image. After researching and testing many apps for a while, I found that Background Eraser is the best when it comes to erasing the Background of images. Now let me show you how you can exactly erase the background of Image using the Android phone.
Also Read: How to Compress Images instantly without Losing Quality
Contents:
Erase Background of Image using Android Phone
Here is the step by step process to erase background in any image easily with the Android phone:
- Firstly, Download and install the Background Eraser App.
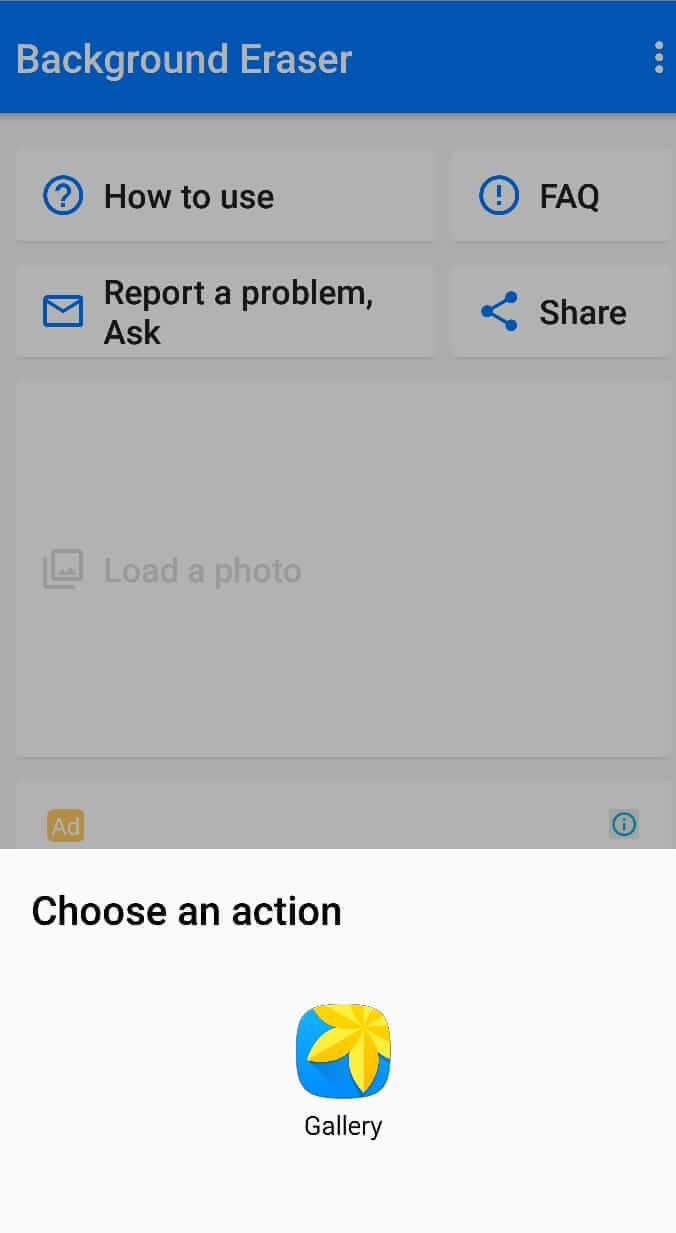
- Open it up and click on load a photo.
- Select the medium to navigate all the photos of your phone using File Manager, Gallary, etc.

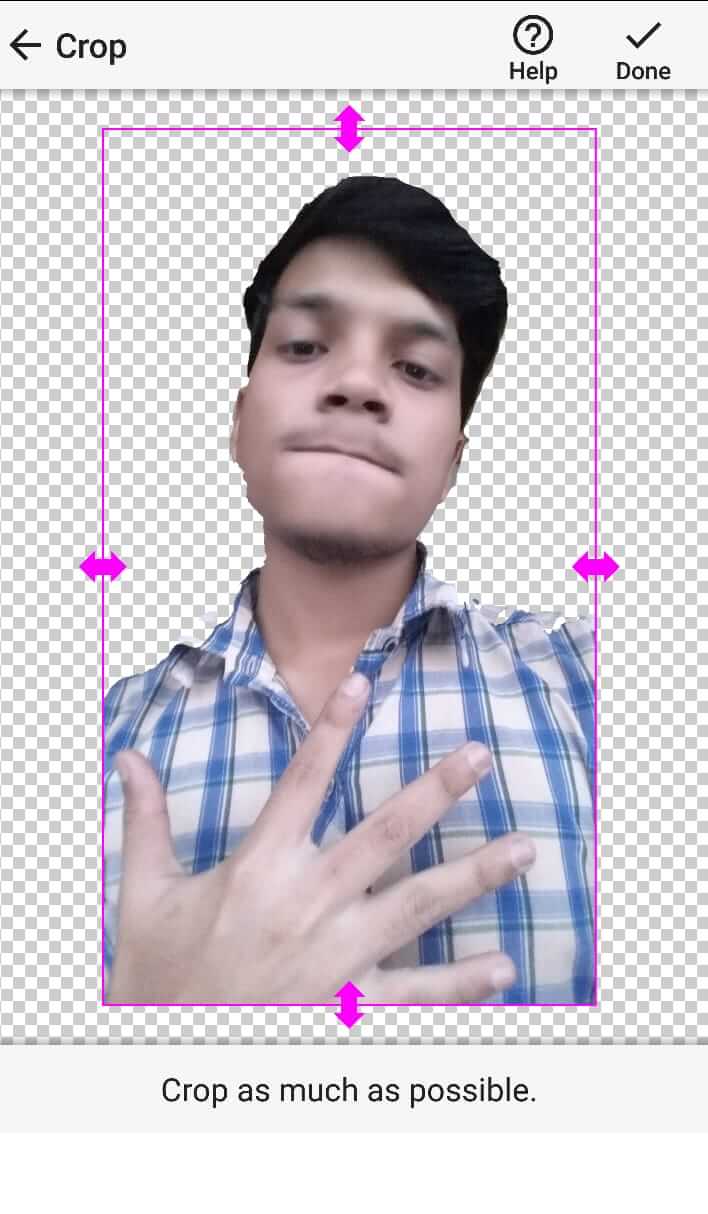
- Crop the image if you want and click on done.

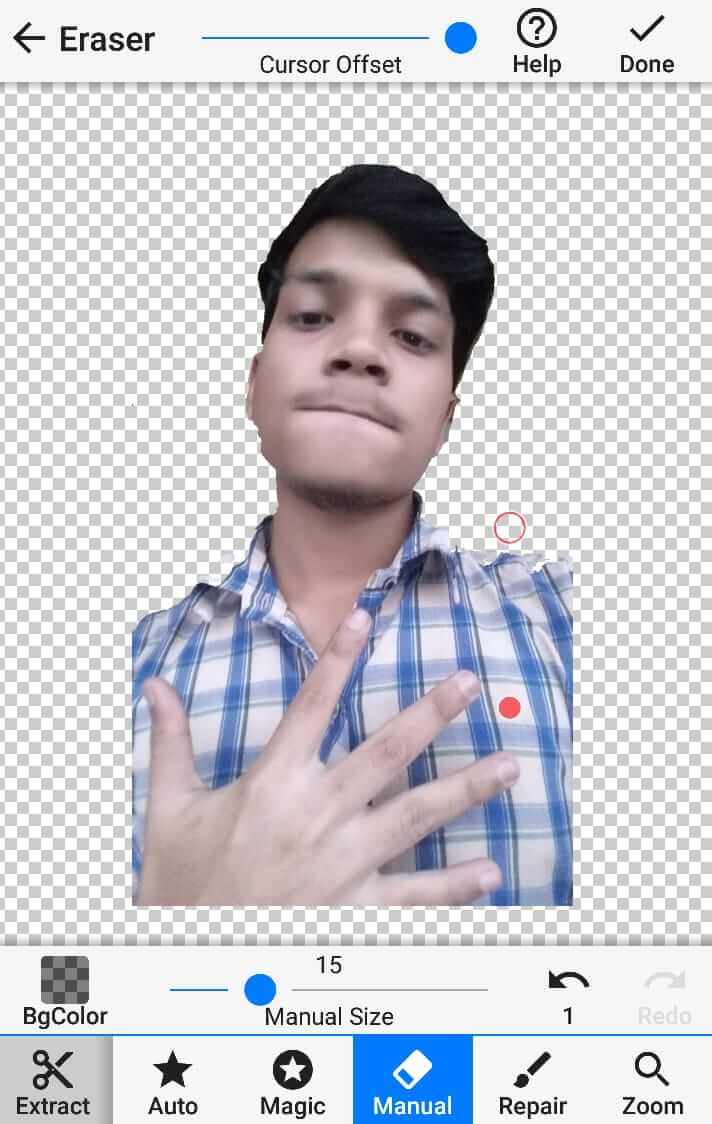
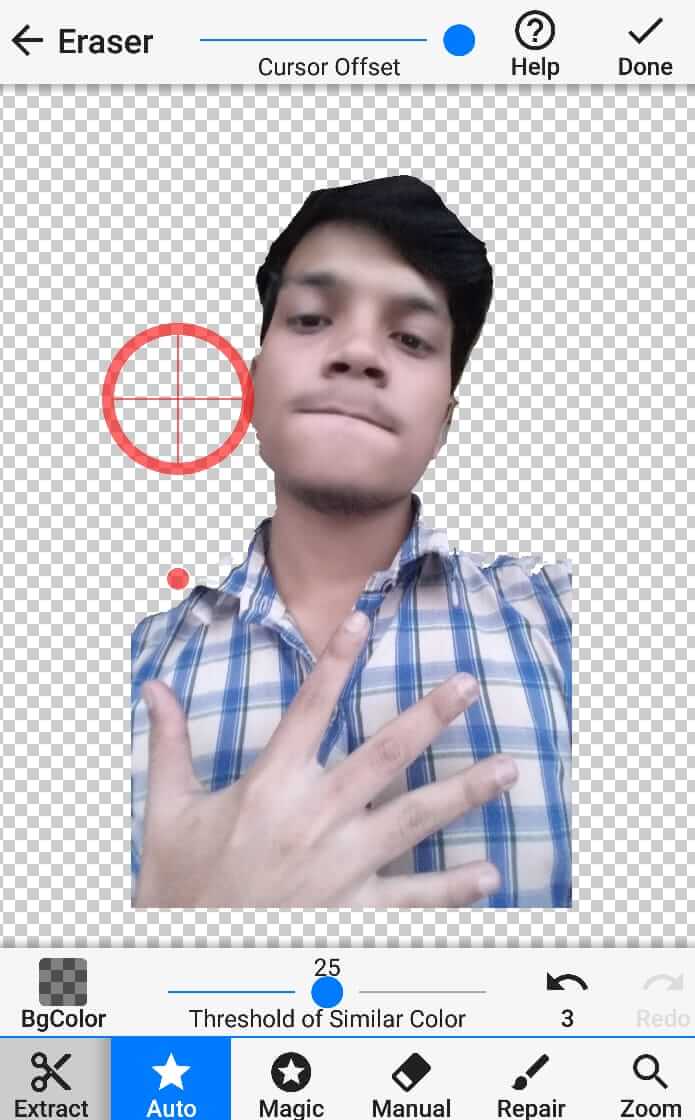
- Now, erase the Background by using your finger and make sure you erase perfectly. And if something goes wrong, you can also go undo to fix it.

- Increase the size of the eraser for erasing background at scale. Always try to play with Eraser size because it will help you to erase your photo background fast.
- Use the Auto mode if you are in an emergency and want to remove the background things fast. Sometimes auto mode doesn’t work best that manual so, try it first and see your luck.

- When you have done with erasing the background of the photo, click the done button from the right top side and smooth the edges at 5 levels for making it look natural. After, hit the save button from the right top.

- And done.
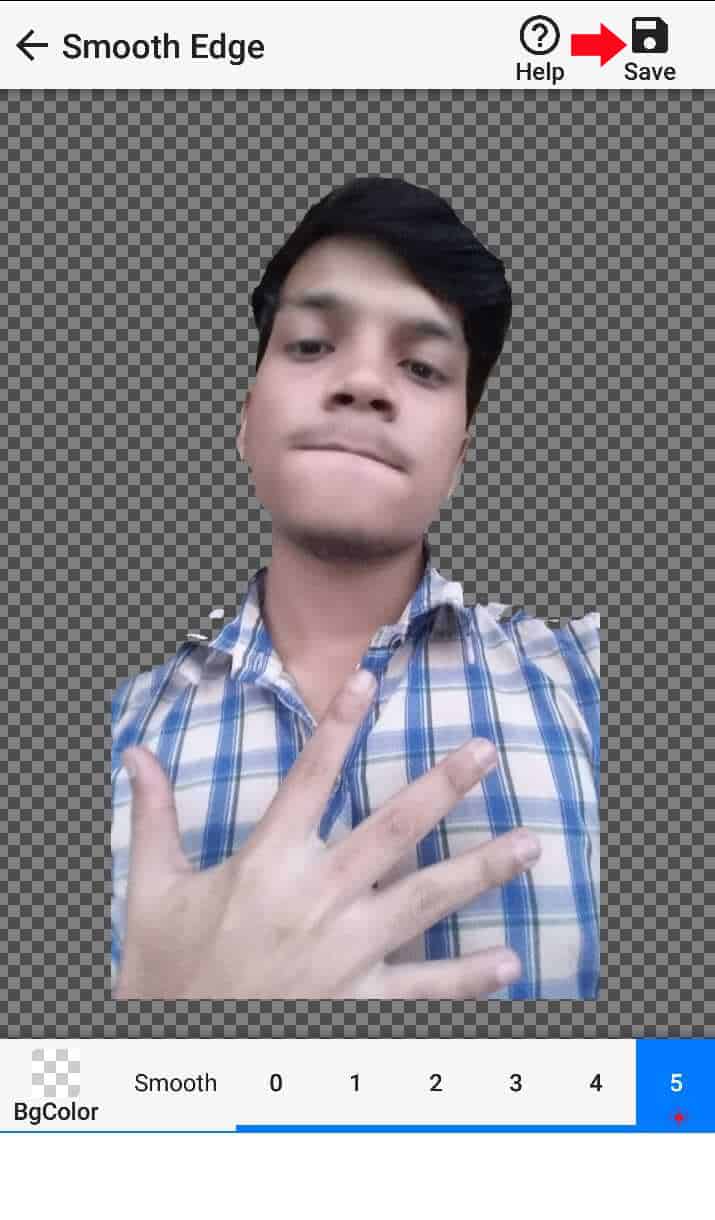
You have been successfully erased the background of your photo with perfection using your Android phone.
Now let me introduce you to the features of Background Eraser so, you can understand all the features to take advantage when erasing the background.
Read More: How to Snooze Emails in Gmail to Stop Receiving Messages
Features of Background Eraser App
Here are the features of the Background Eraser app:
Auto Erase Background
Auto Erase Background can help you to remove Background in seconds or in one tap. However, In auto-erase background mode, you will get aero on the screen and by moving it to the areas in the picture you can erase the background.
The automatic erasing feature is best for erasing background photos fast. Just point the area with aero of auto-erase and remove your finger to erase the pointed area.
Magic
The magic feature is a little similar to Auto Erase Background. However, it also erases the area color when aero moves with Finger.
Magic Feature enables one to erase the background in a sharp and better way. Also, the magic feature is easier in erasing Background. It is not like a manual Erase.
Manual Eraser
Manual Eraser is the default background eraser in this app. And after using this application for a while I found out that a manual eraser is actually the best but hard way to erase background on a photo.
In manual Eraser mode, you get full control in your hand to Erase Background image. Like you can change the size of the eraser, adjust the cursor offset, go undo and redo, etc.
Repair
Using the feature, you fix your mistakes that you have been recently done with a manual or Magic Eraser. Repair is a billion-dollar feature in the background eraser app.
However, you can go back to the state in Image where things are good. Like no cut, over-erased, etc.
Repair is your final feature to make finishing in erasing background in the photo.
Read More: Top 12 Best Image Compressor Websites to Optimize Image
Conclusion
The steps and app I selected to erase Background in the photo are the best ones. And there is no doubt that it won’t work for you.
Background Eraser is specifically built for erasing background in the photo. So, there is a strong chance that background eraser has good and quality features.
It can beat any popular Photo editor like PicsArt, Snapseed, etc. Overall, the background eraser is the best medium in Android to erase the background of the image.
Hopefully, you loved this article? If so, thank us for sharing this article. And also, comment below any question if you got one.