Compressed images are kind of images that consume less space in the room with original quality. Compress images helps to save a little bit space on our Hard disk too. If you got less space on your device and want to save the huge amount of images. Then today’s blog post is for you especially! Because in this article I’m going to show you the exact process “how to compress images instantly without losing quality“.
Compress images not only help to save storage but it also gives some benefits to the internet world.
However, if you are a blogger like me and want to speed up the page loading then put Compressed images on your blog post.
Because it loads faster and it helps users to open the site even in a slow internet connection.
Contents:
What is a Compressed image?
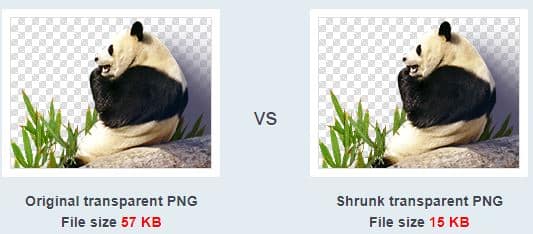
Compressed images are the same original images but less in space-consuming and at the same time, its quality is exactly how others the same images have.
In this era, images are many types like JPEG, PNG and similarly many. Some image formats have less capacity to compress and some image formats have super abilities to get compress.
So, depending upon the image formats you can compress them at best.
Now you know what are compressed images are! Let’s take a look at why it is super important in any field like Blogging, Office, etc.
Why Compress Images?
There is no rule to compress images but there are some benefits of using compressed images.
Using compressed images can give you many benefits at different places like on your blog, Making space on a Computer drive, Phone storage, etc.
In your blog, if you add compress images then it will load faster whenever visitors open the web page. So, adding a compressed image on your blog can differentiate you from the rest blogs and you get high ranking too in the Google SERP. Because Google has clearly stated that the speed of the web page will be a ranking factor.
Because there are still too many blogs available that use high file size images. They use it and call their website the name “Faster”.
Another reason is to save storage. The amount of images uses is increased truly in past years but storages in most phone remain the same as they are.
That’s why most old android users struggling from “Space Running out“.
Do you get 3-4 images of Good Morning on your Android phone through Whatsapp?
If you are always running out of space, worry not! Files by Google can Free up storage space with one click. Check out Files by Google guide to Free up storage space.
Bottom line is, there are two reasons why you should use compressed images:
- To save a bit of storage.
- To load the web pages faster that has image content added.
Now let me show you how to Compress images instantly!
How to Compress Images Instantly Online
Compressing any images is not that hard you think, it’s an easy process in this article. Well, You can compress images in two ways online and offline.
In this post, I will show you the easiest one, online. Here is the step by step process to compress images online:
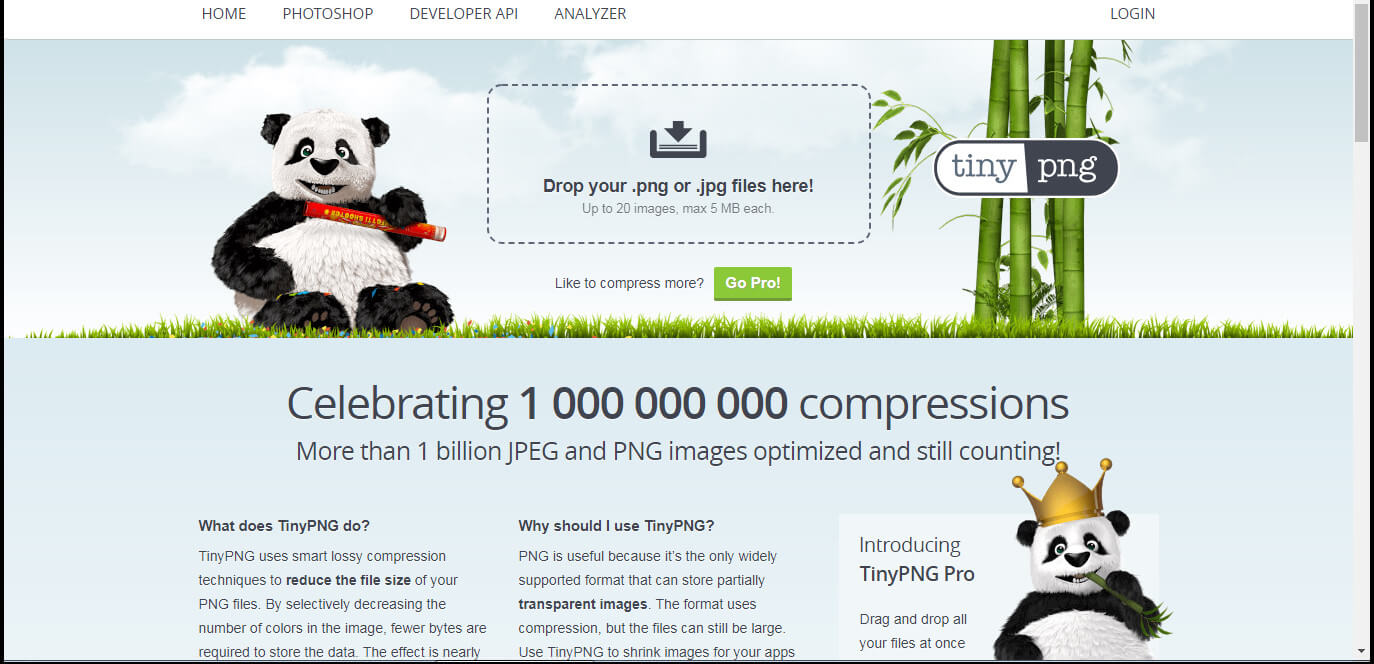
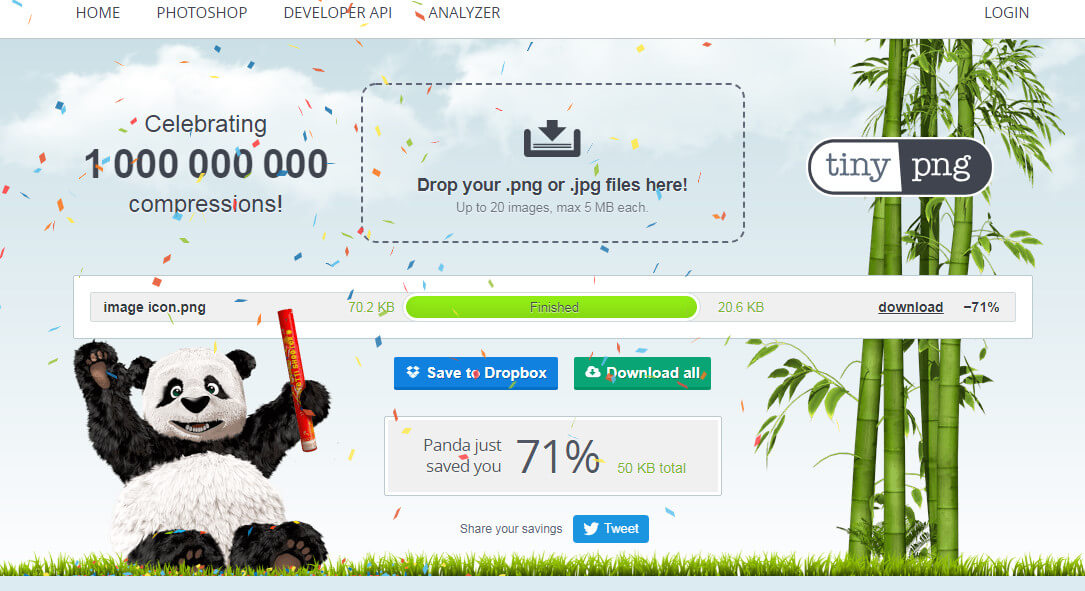
- Click here to visit the fastest compressor site. (TinyPNG)

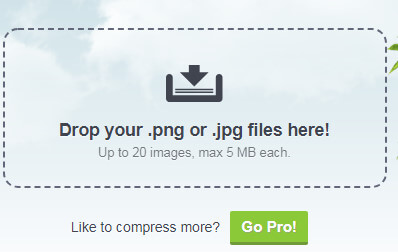
- Click on “Drop your .png or .jpg file here”.

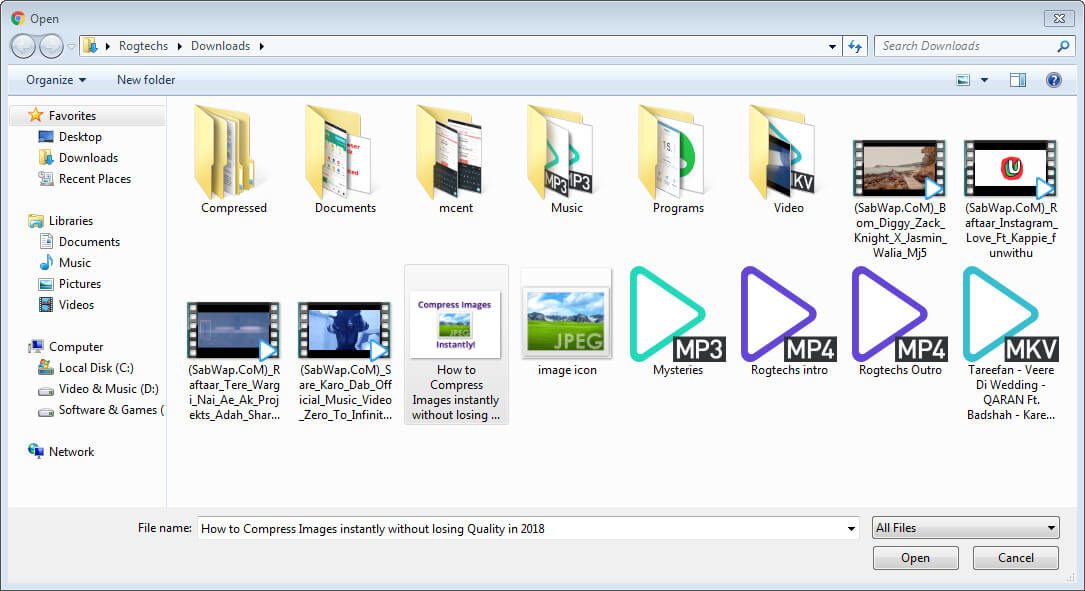
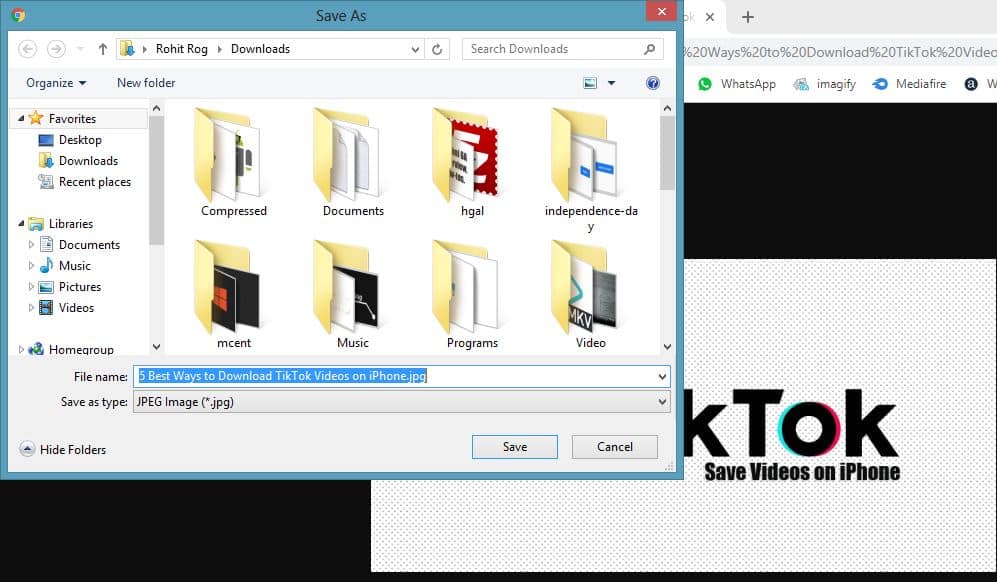
- Select the image file you want to compress.

- Then click on “open“.
- Wait for Compression, then click on download.

- Done.
Now you have successfully compressed the image, you can use that image anywhere for the best result.
There are also many image compressors are available on the Internet like CompressJPEG, Compressnow, ImageResize, Iloveimg, SimpleImageResizer, etc. You can also check the list of best Image Compressor Websites.
How to Compress Images to 20KB Online
In most offices, there is a condition that images used in online works should be 20KB or less. And sometimes, images can’t be compressed that much. However, image compression depends on many factors like Width and Height, RGB color amount in Image, etc. But it is possible to Compress image to 20KB online. However, there is an online website that has the capability to compress any image to 20KB or less.
Here are the steps to Compress Image to 20KB online for free:
- First, visit the Imagify website using your Computer or Android.
- Once you visited the Image optimizer page, set the image compression level to Ultra.
- Then select the image or drop the image in the Upload section. Click on the upload icon and browse the image from your device storage and upload it.

- Once uploaded, the image will get automatically compressed on the Imagify website, you can check by scrolling a little down.
- And once the uploaded image gets compressed, the download button for the compressed image will appear in the side.
- Tap on the Download button to open the compressed image in the new tap. Make sure you use the Google Chrome browser to download the image properly.

- From the new tab, right-click on the image and select the save image option to download the Compressed image on your computer/Android.

- Done.
Imagify can compress images online to 20KB or even less easily. But make sure you compress images in ULTRA mode.
Conclusion
Using a compressed image is a Wiseman work. The compressed image is way better than non-compressed.
Compressed images have less space-consuming and the same quality as original (image without compressed).
There are too many different formats available of images, all of them have a different ability to get compressed.
You can take advantage of using the compressed image on your Blog. In a blog through adding compressed images, you can increase site speed.
You can save a little bit of space on your Android phone by using compressed images. That’s it! So, hope you like this post? If so then I will appreciate it if you share this with your friends!
